
This tutorial will cover how to build a Custom CRM from scratch using a Xano backend. The Custom CRM app will be built using Jet Admin, a no-code business app builder.
Jet Admin allows you to build custom business apps such as internal tools or client portals from your data sources: Xano, Supabase PostgreSQL, Firebase, 30+ others incredibly fast and without code.
Using Jet and Xano you can do the following:
- Build applications: Admin panels, Internal tools, Customer portals, Dashboards, or 360 customer views (Single source of truth for your organization)
- Sync and Blend Data your Xano data with 30+ data sources
- Empower your Xano data with Formulas and SQL queries
- Build Workflow or Automation on top of your database
Intro
This tutorial is for anyone who already has a Xano backend or is building from scratch. I will show you what API endpoints need to be returned from Xano, but it’ll be up to you to construct those endpoints for your data in Xano.
What this tutorial will cover:
- Set up your Xano backend
- Connect and Sync your Xano backend to Jet Admin
- Build an App on Jet Admin: Filter Opportunities by Status, Owner, Estimated Value; Update the Opportunity Details; Visualize reports – Opportunities by status, Value Deals by Owner
- Build Automation that will send notifications on Slack when the opportunity Status is changed
Step 1: Set up your Backend on Xano
Create a Database for your app
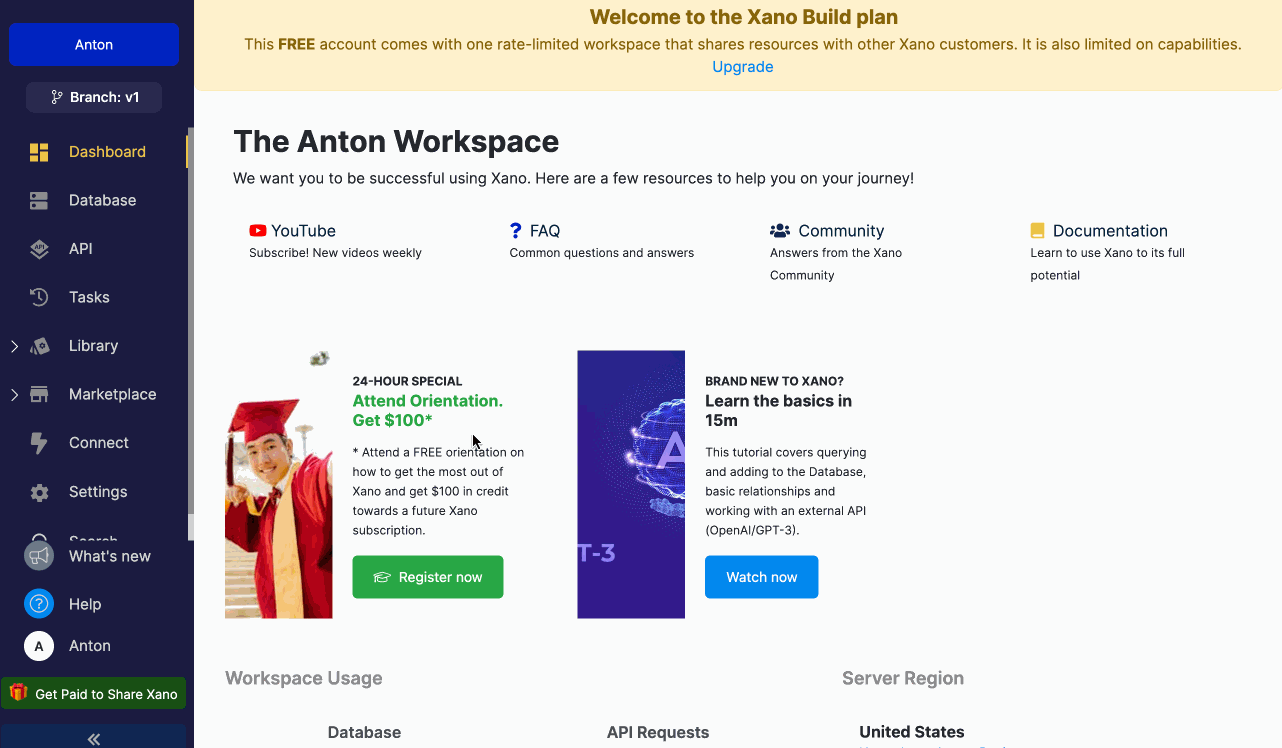
Create a new Account on Xano and create a new Database.
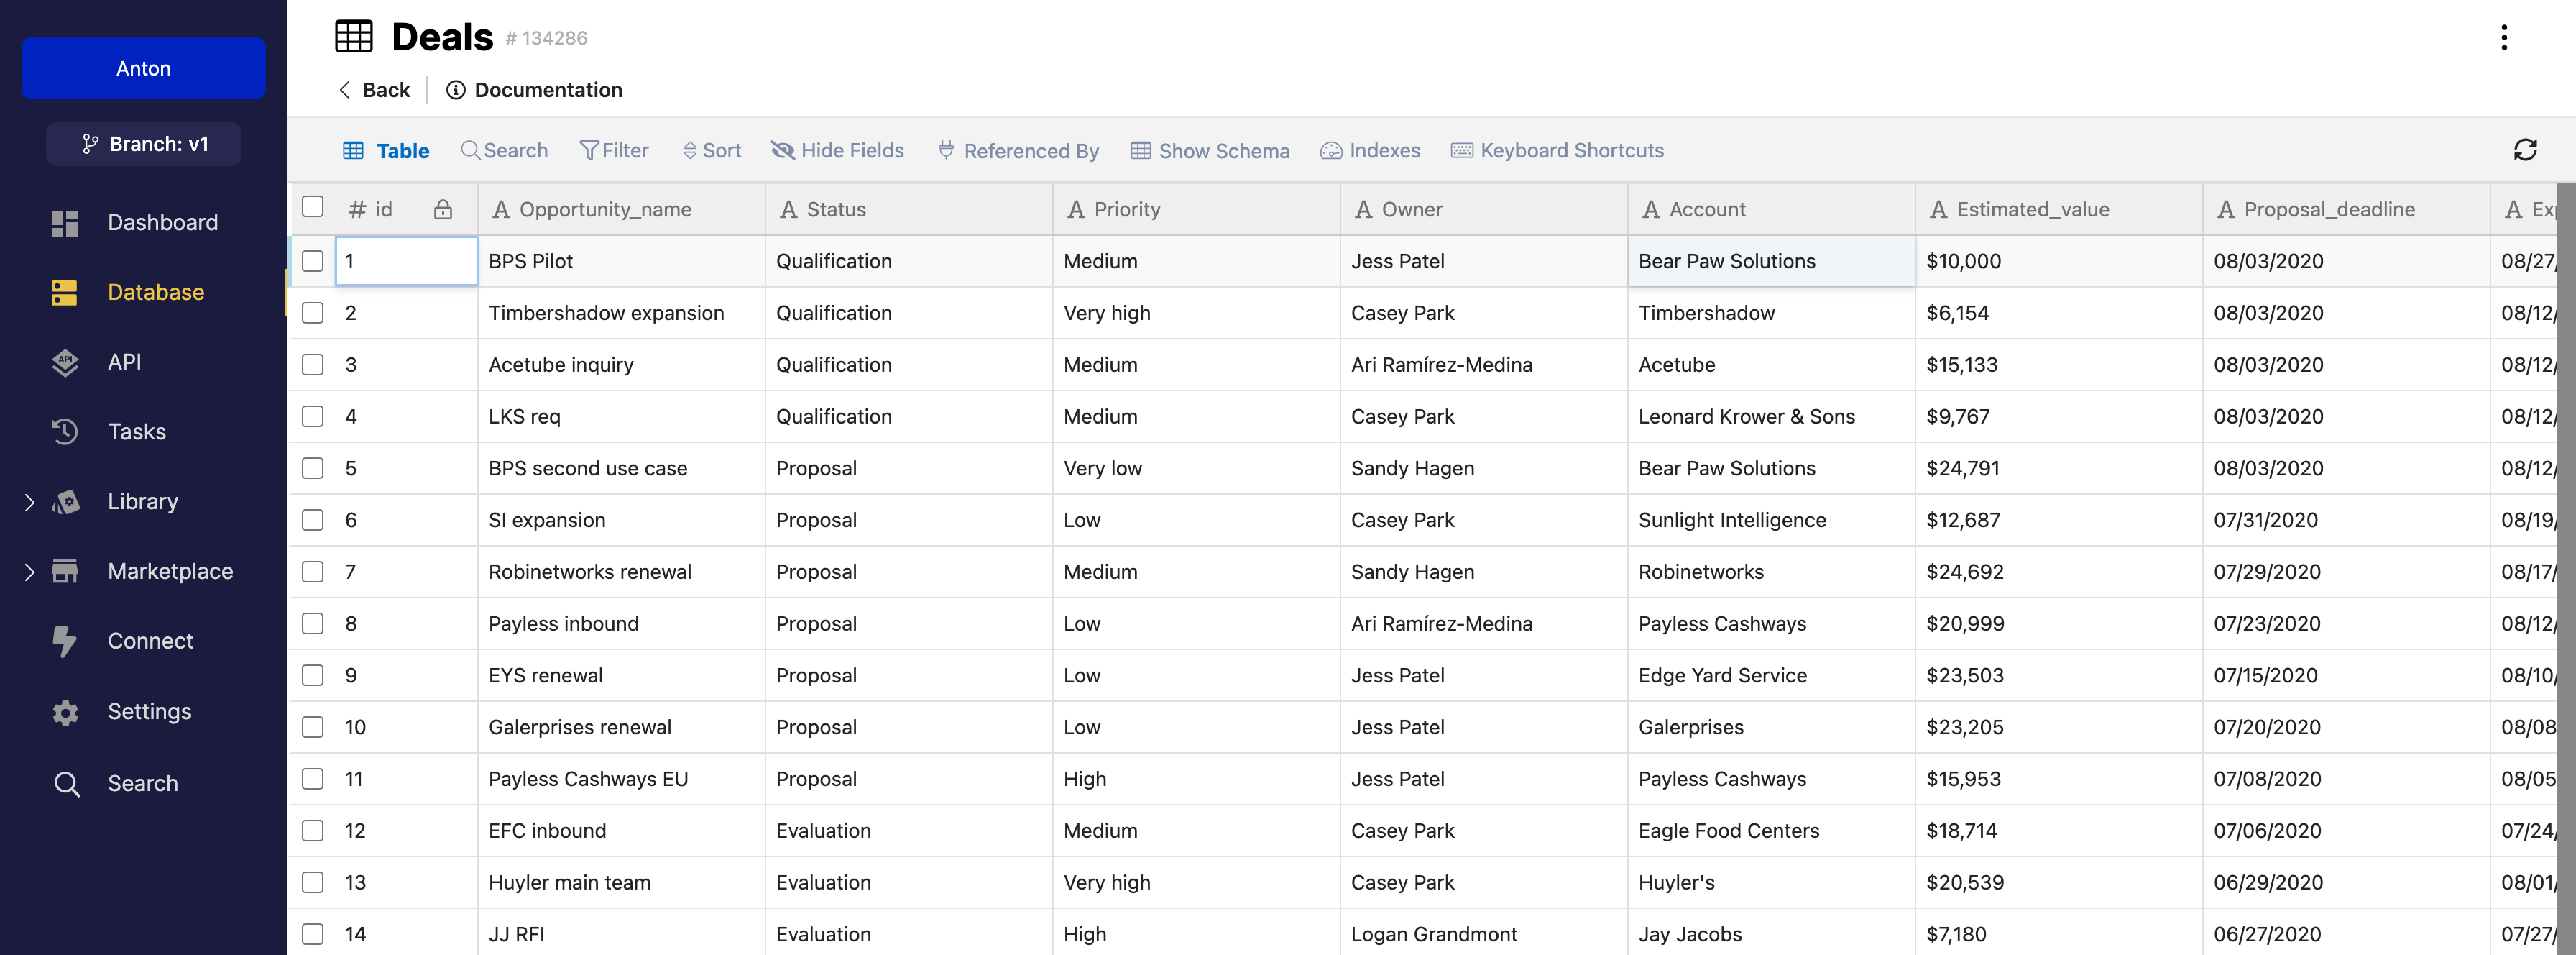
- Go to the Database tab on the left menu and click the Add Table button. You can choose Add to create a new table from scratch or Import to import existing data using a CSV or Airtable.
- Create a Table Name, add a Description, and Add basic CRUD endpoints to allow Xano to generate API endpoints for CRUD operations.
- Click Add Table
This tutorial will use Deals data that you can download and import to Xano.
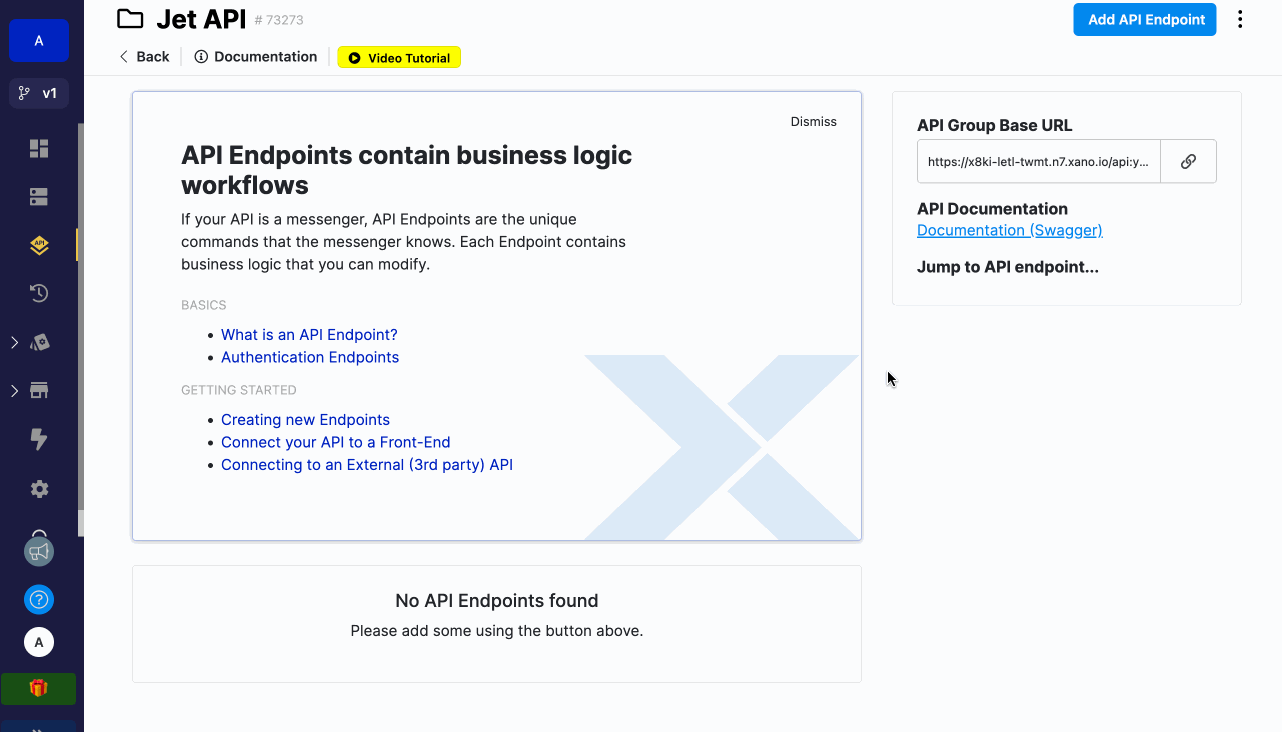
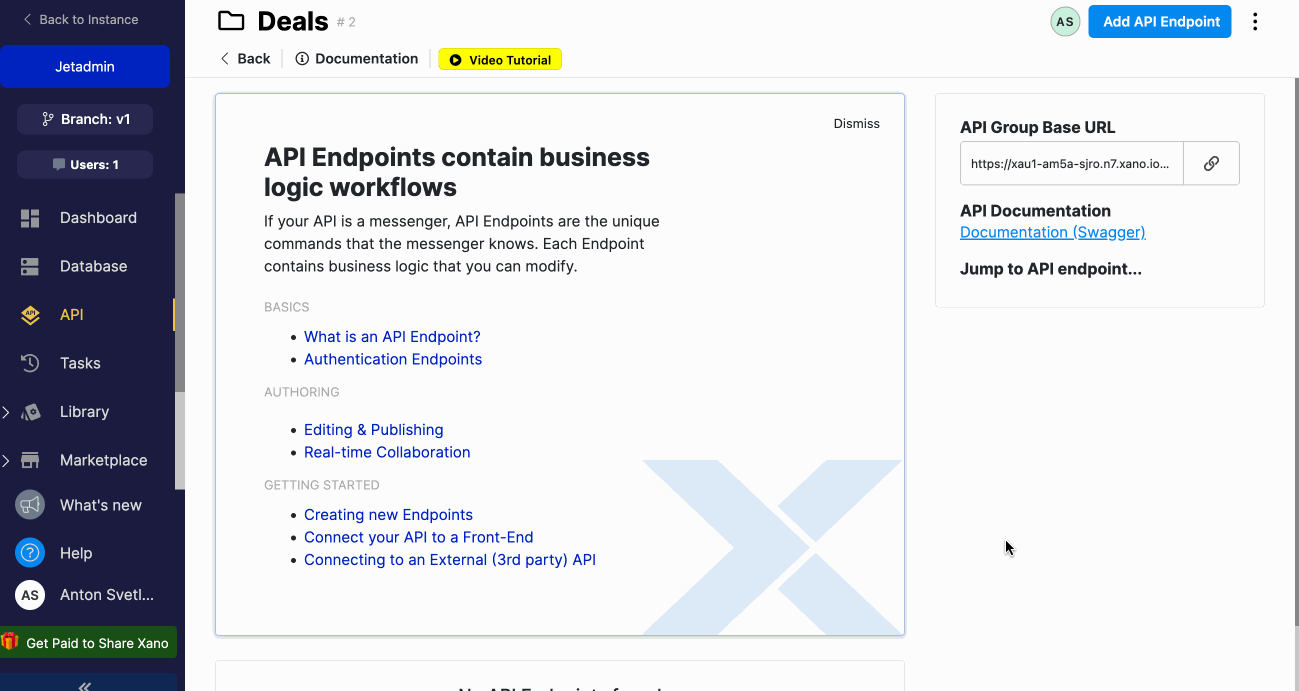
Create APIs on top of your database
Once you have created a Database and filled it with your data, you should create APIs for your Database. There are two options to create Endpoints in Xano: use Default CRUD operations endpoints or create custom API endpoints.
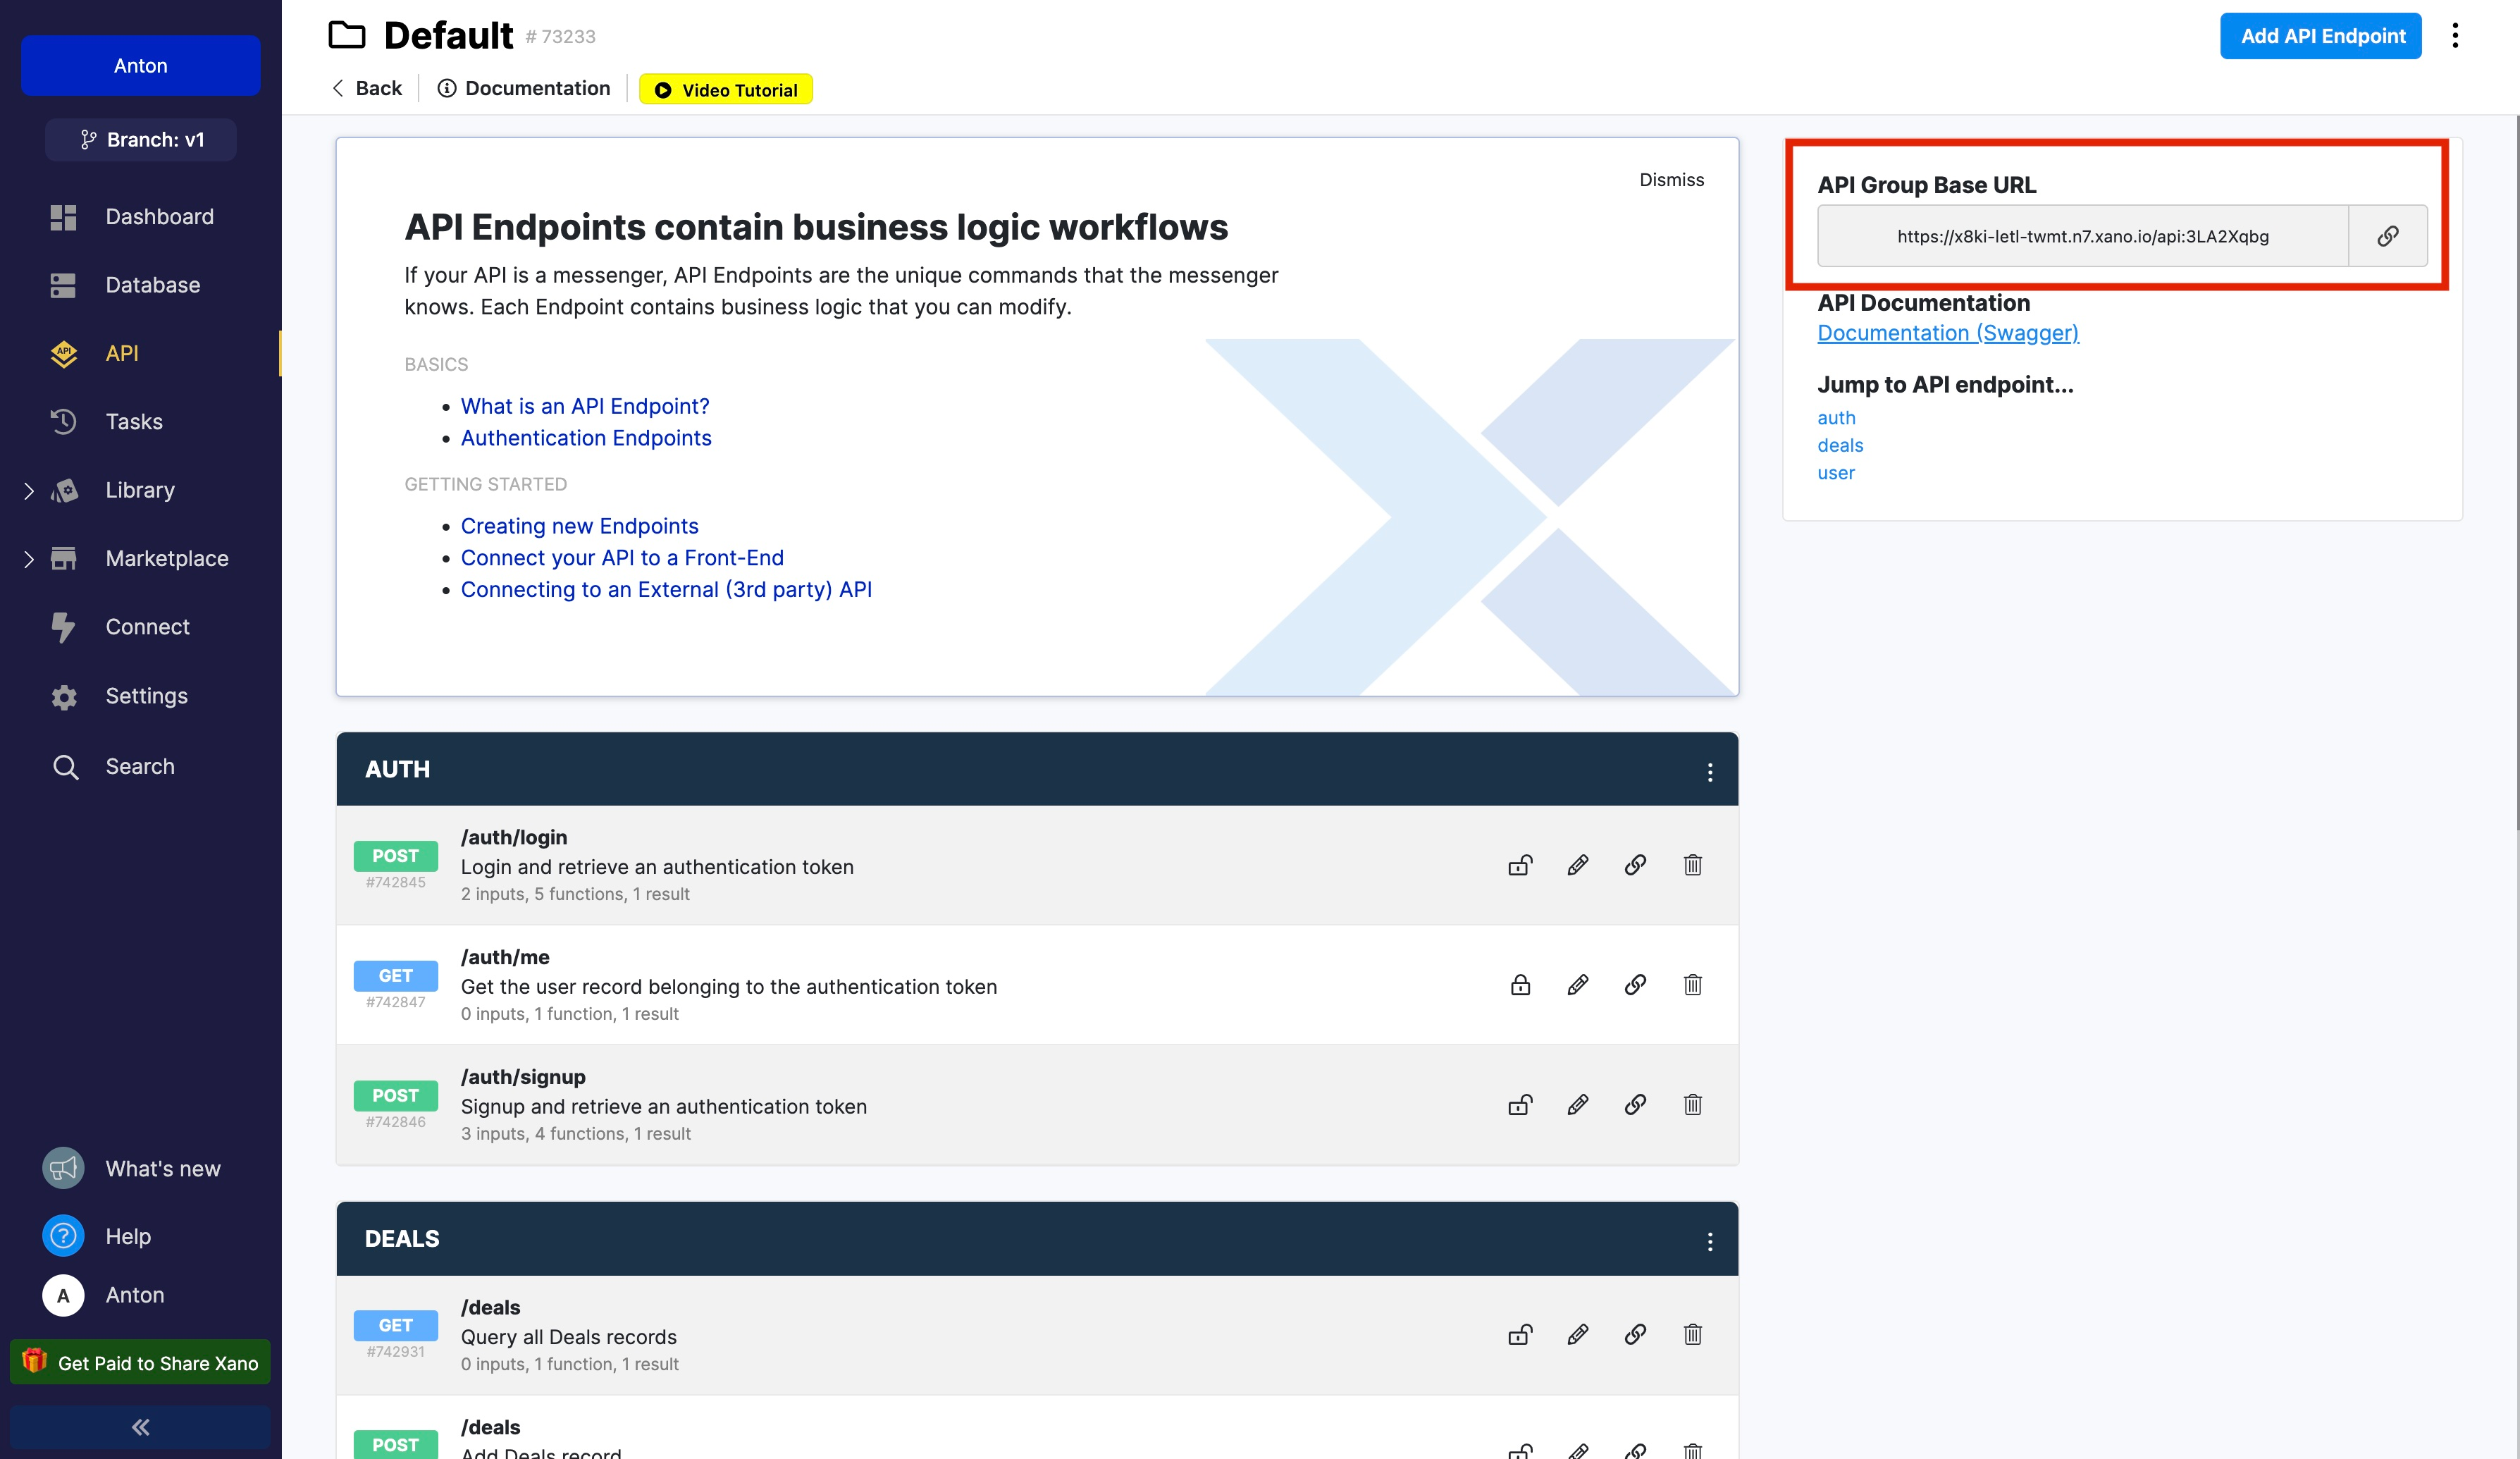
- Use Default CRUD operations endpoints. Go to the API tab on the left menu and choose Default API Group and Copy API Group Base URL to your clipboard, and let’s head over to Jet Admin!
Create custom APIs endpoints.
First, go to Add API Group and fill in Name, and Description. Next, click Add API endpoint.
It is important that you fill the Description field of the API endpoint you want to use in Jet Admin with the following content:
- For GET record list API endpoint: Query all TABLE records
- For GET SINGLE record API endpoint: Get TABLE record
- For POST (create) record API endpoint: Add TABLE record
- For EDIT record API endpoint: Edit TABLE record
- For DELETE record API endpoint: Delete TABLE record
where TABLE is your Xano table name.
Only endpoints with the specified Descriptions will be imported to Jet Admin. For example, if APIs endpoint – Get record list of Deals, in the Description field: Query all deals records.
Upload Files to Xano
❗️Xano File attachments are only available in paid Xano plans❗️
Uploading files to Xano file fields can only be done through the Xano Files storage. In order to use file fields in your Xano database, you must link the Xano Files storage to Jet Admin. Xano file fields will automatically use Xano Files storage as their default option. If you connect to Jet Admin with the Xano upload attachment endpoint, it will seamlessly integrate with Xano Files storage.
In order to integrate, Jet will search for the /upload/attachment endpoint. If you already have it, you can proceed to the next step without any further action.
If you don't have /upload/attachment endpoint then follow these steps:
- Go to your API Group
- Click Add API endpoint
- Create an endpoint by clicking Upload Content -> Upload an attachment -> Save
Once you finish the steps you will have the following /upload/attachment endpoint which will automatically integrate when you connect Xano to Jet Admin

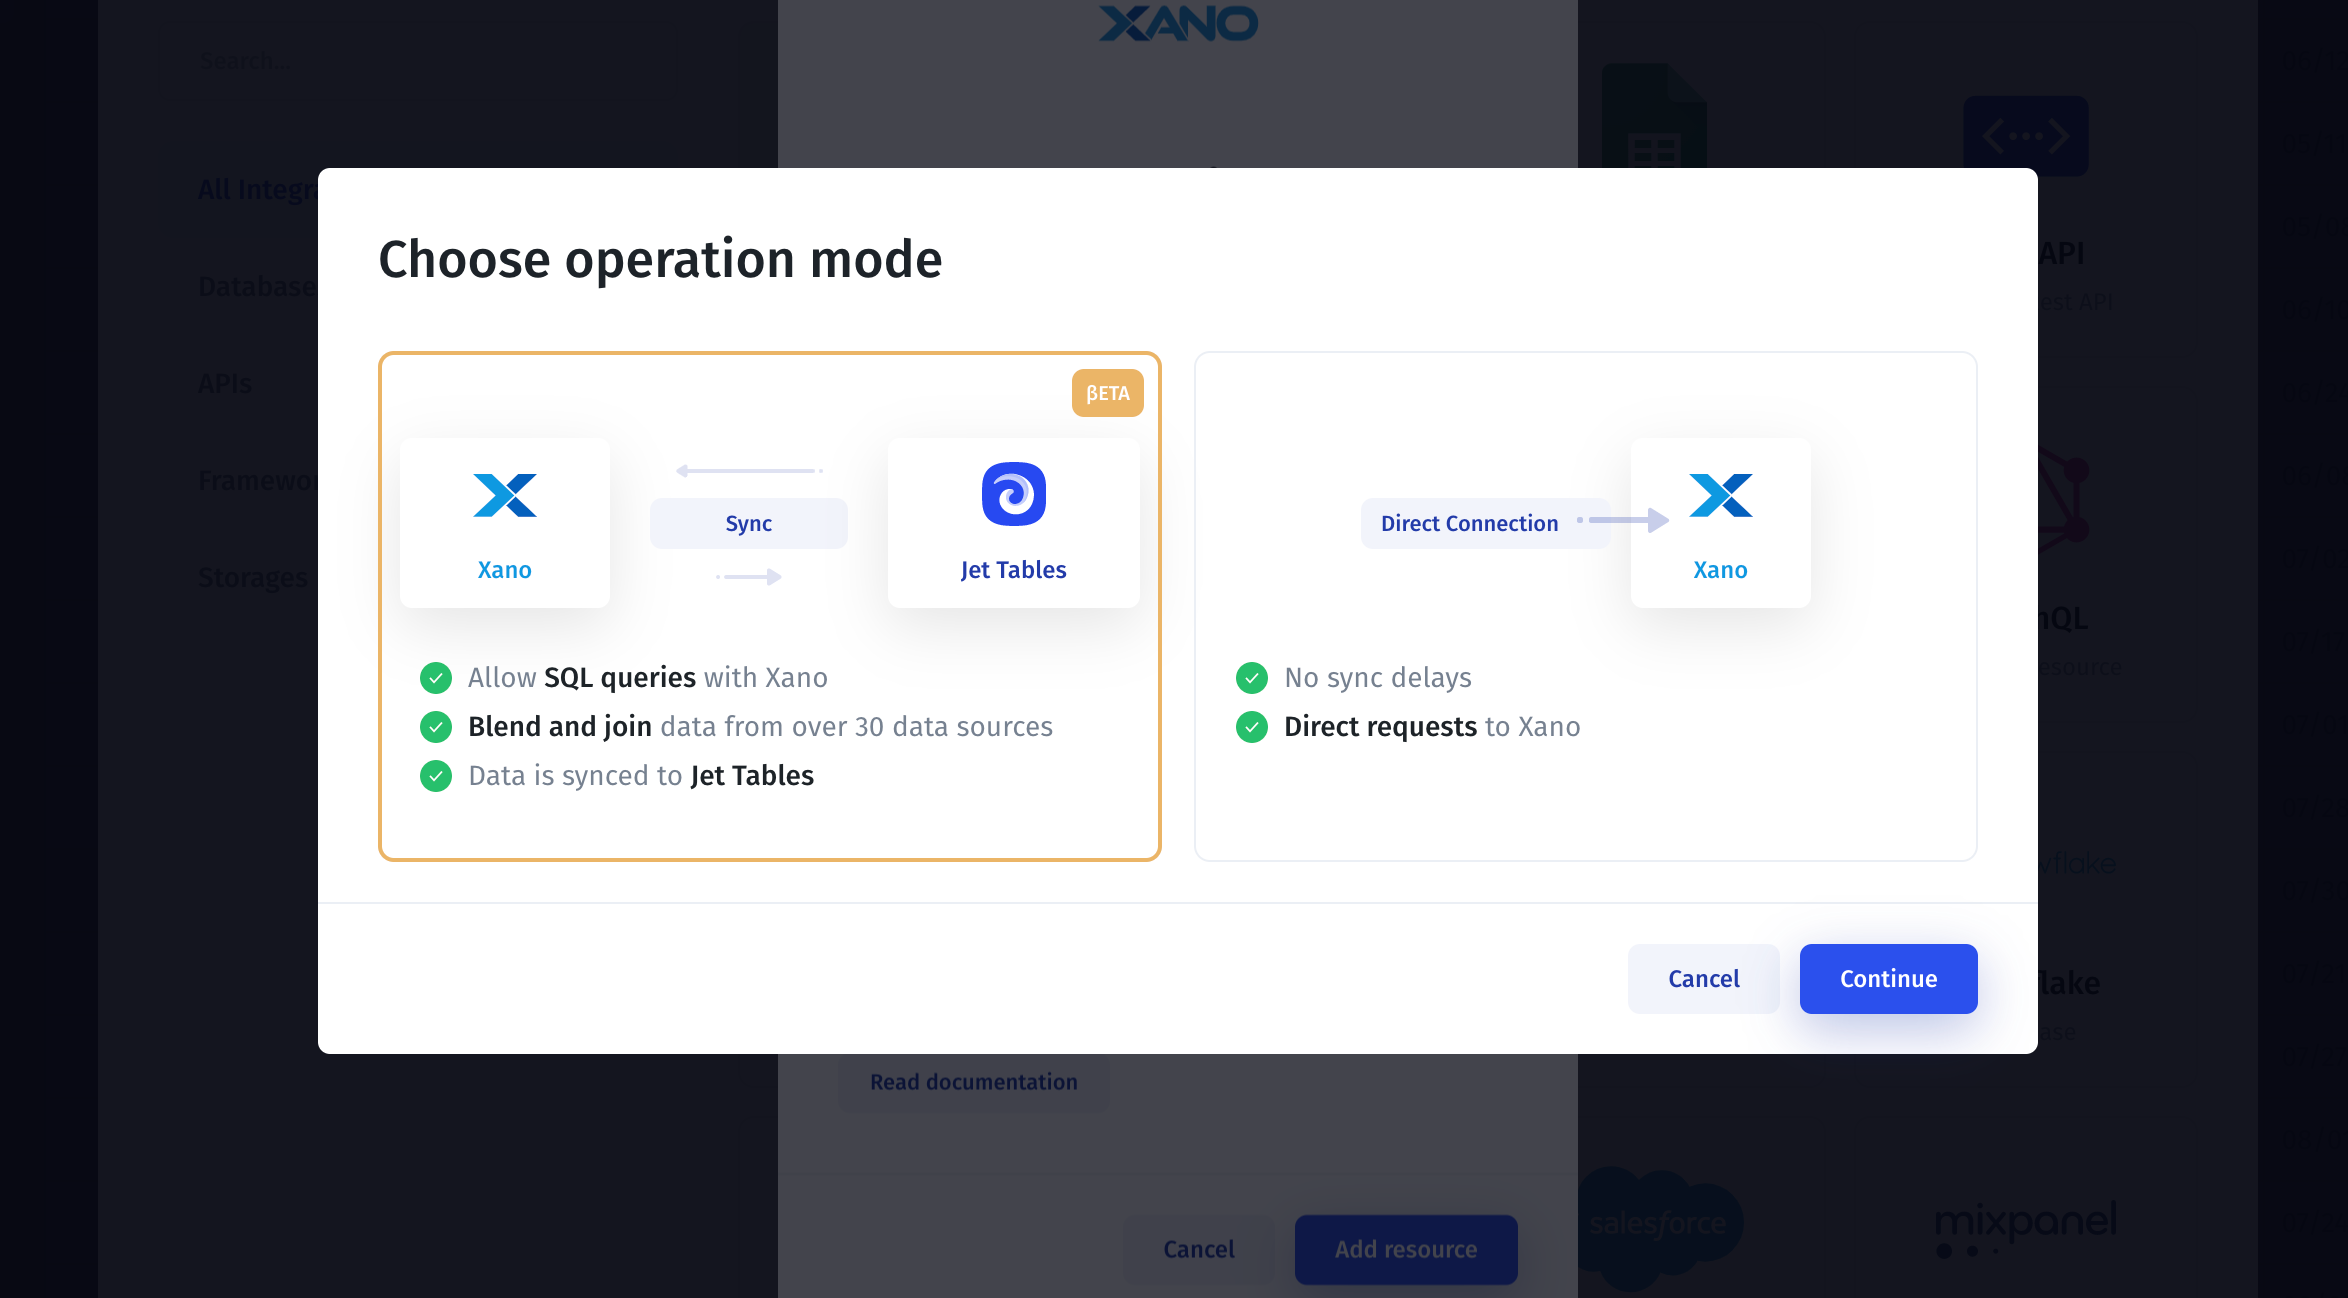
Step 2: Connect Xano to Jet Admin
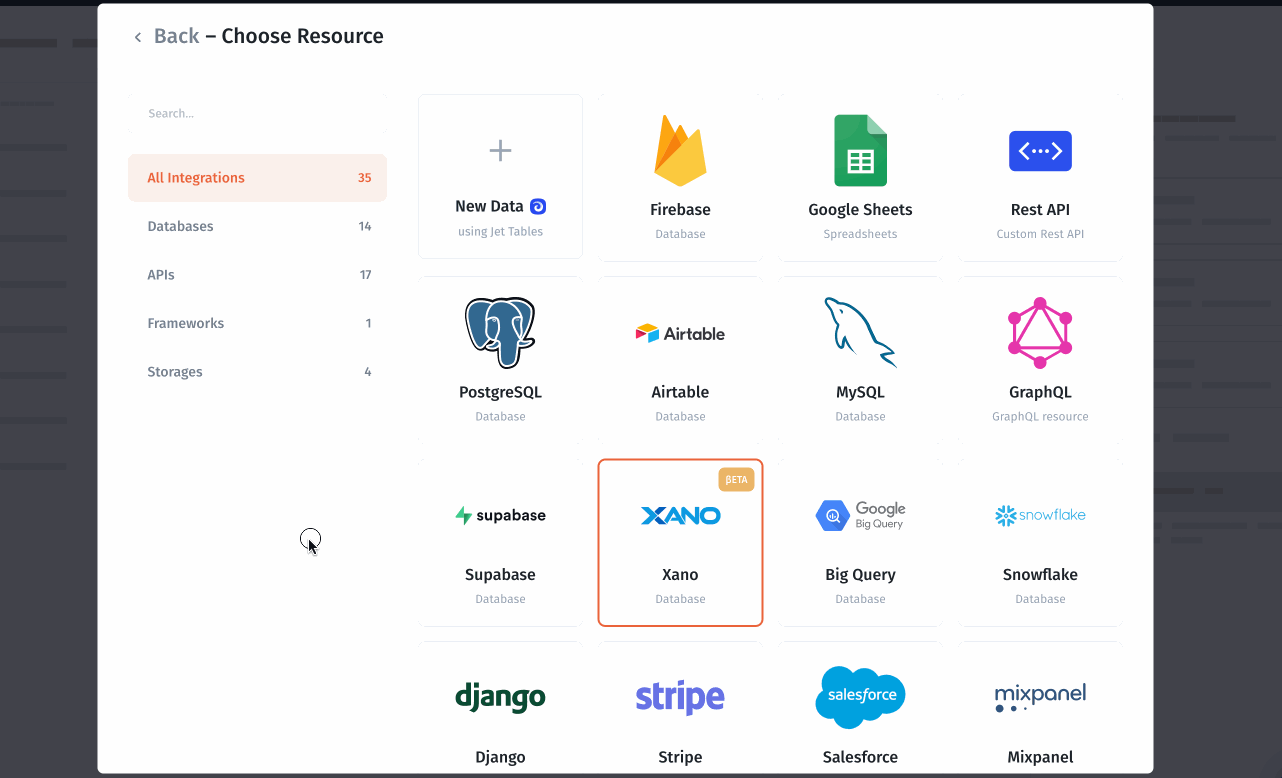
Create a new Project in Jet Admin if you don't have one. Choose Xano as the Data Source that you would like to connect.
Copy API Group Base URL from Xano to Jet Admin
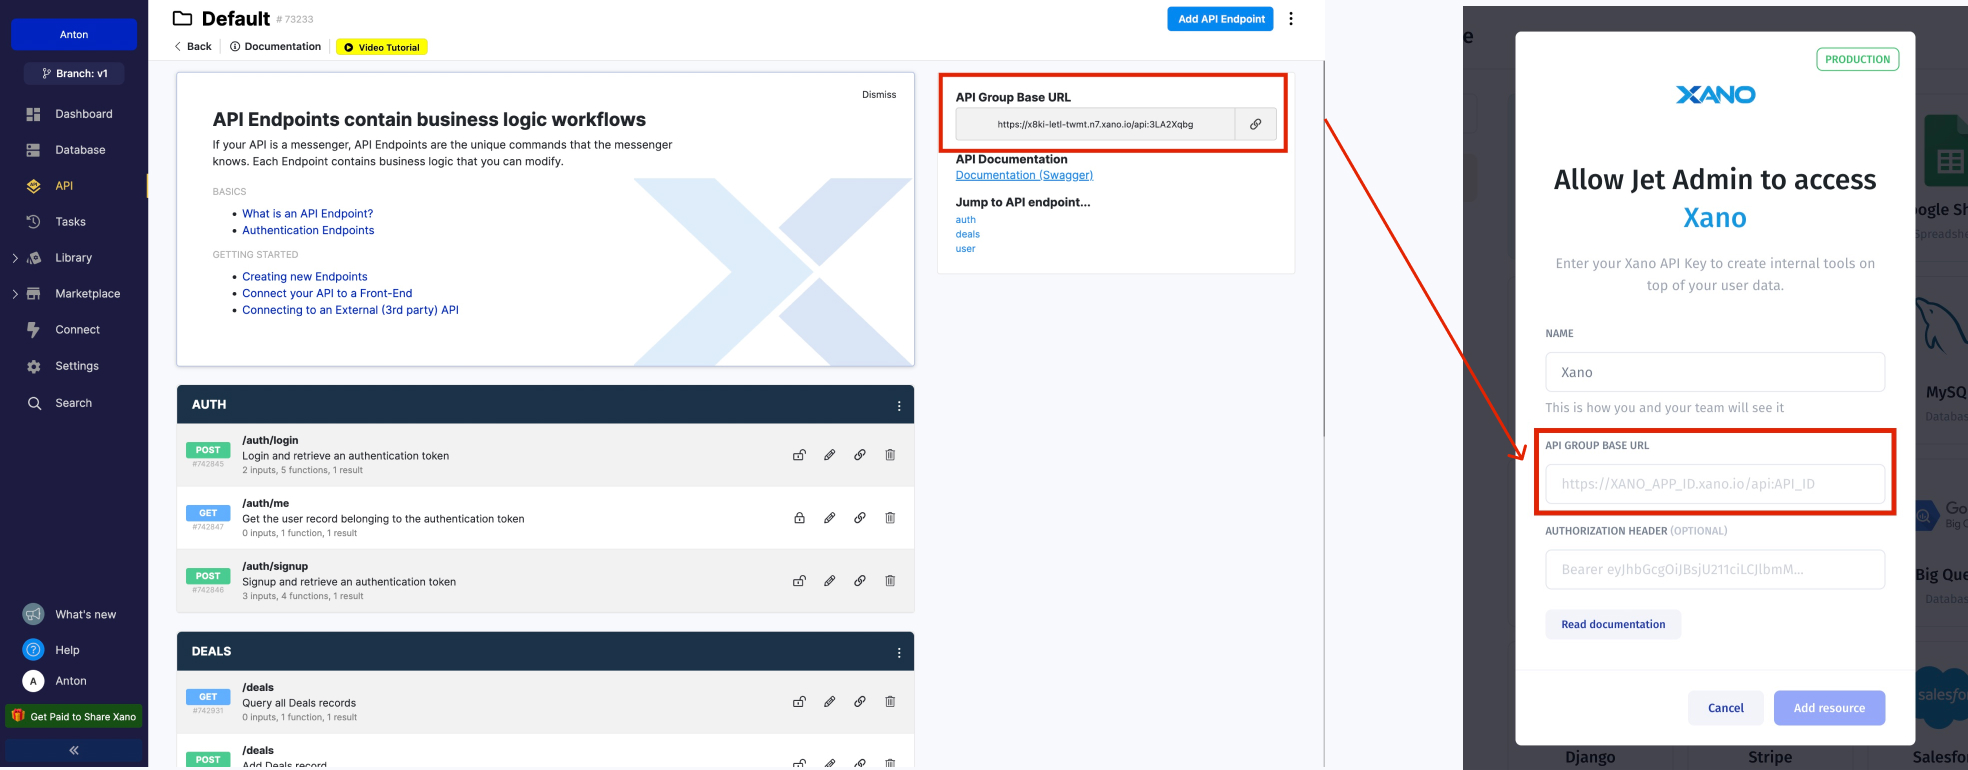
If you would like to protect API endpoints from unauthorized access, you can learn how to set it up in the video and get an Access token:
https://www.youtube.com/watch?v=TiUl1Z8WDXo
Copy Authorization token to Authorization header in Jet Admin.
Next, choose Data Sync, which allows you to do SQL queries, and blend and join data from 30+ data sources.
Step 3: Build an App on Jet Admin
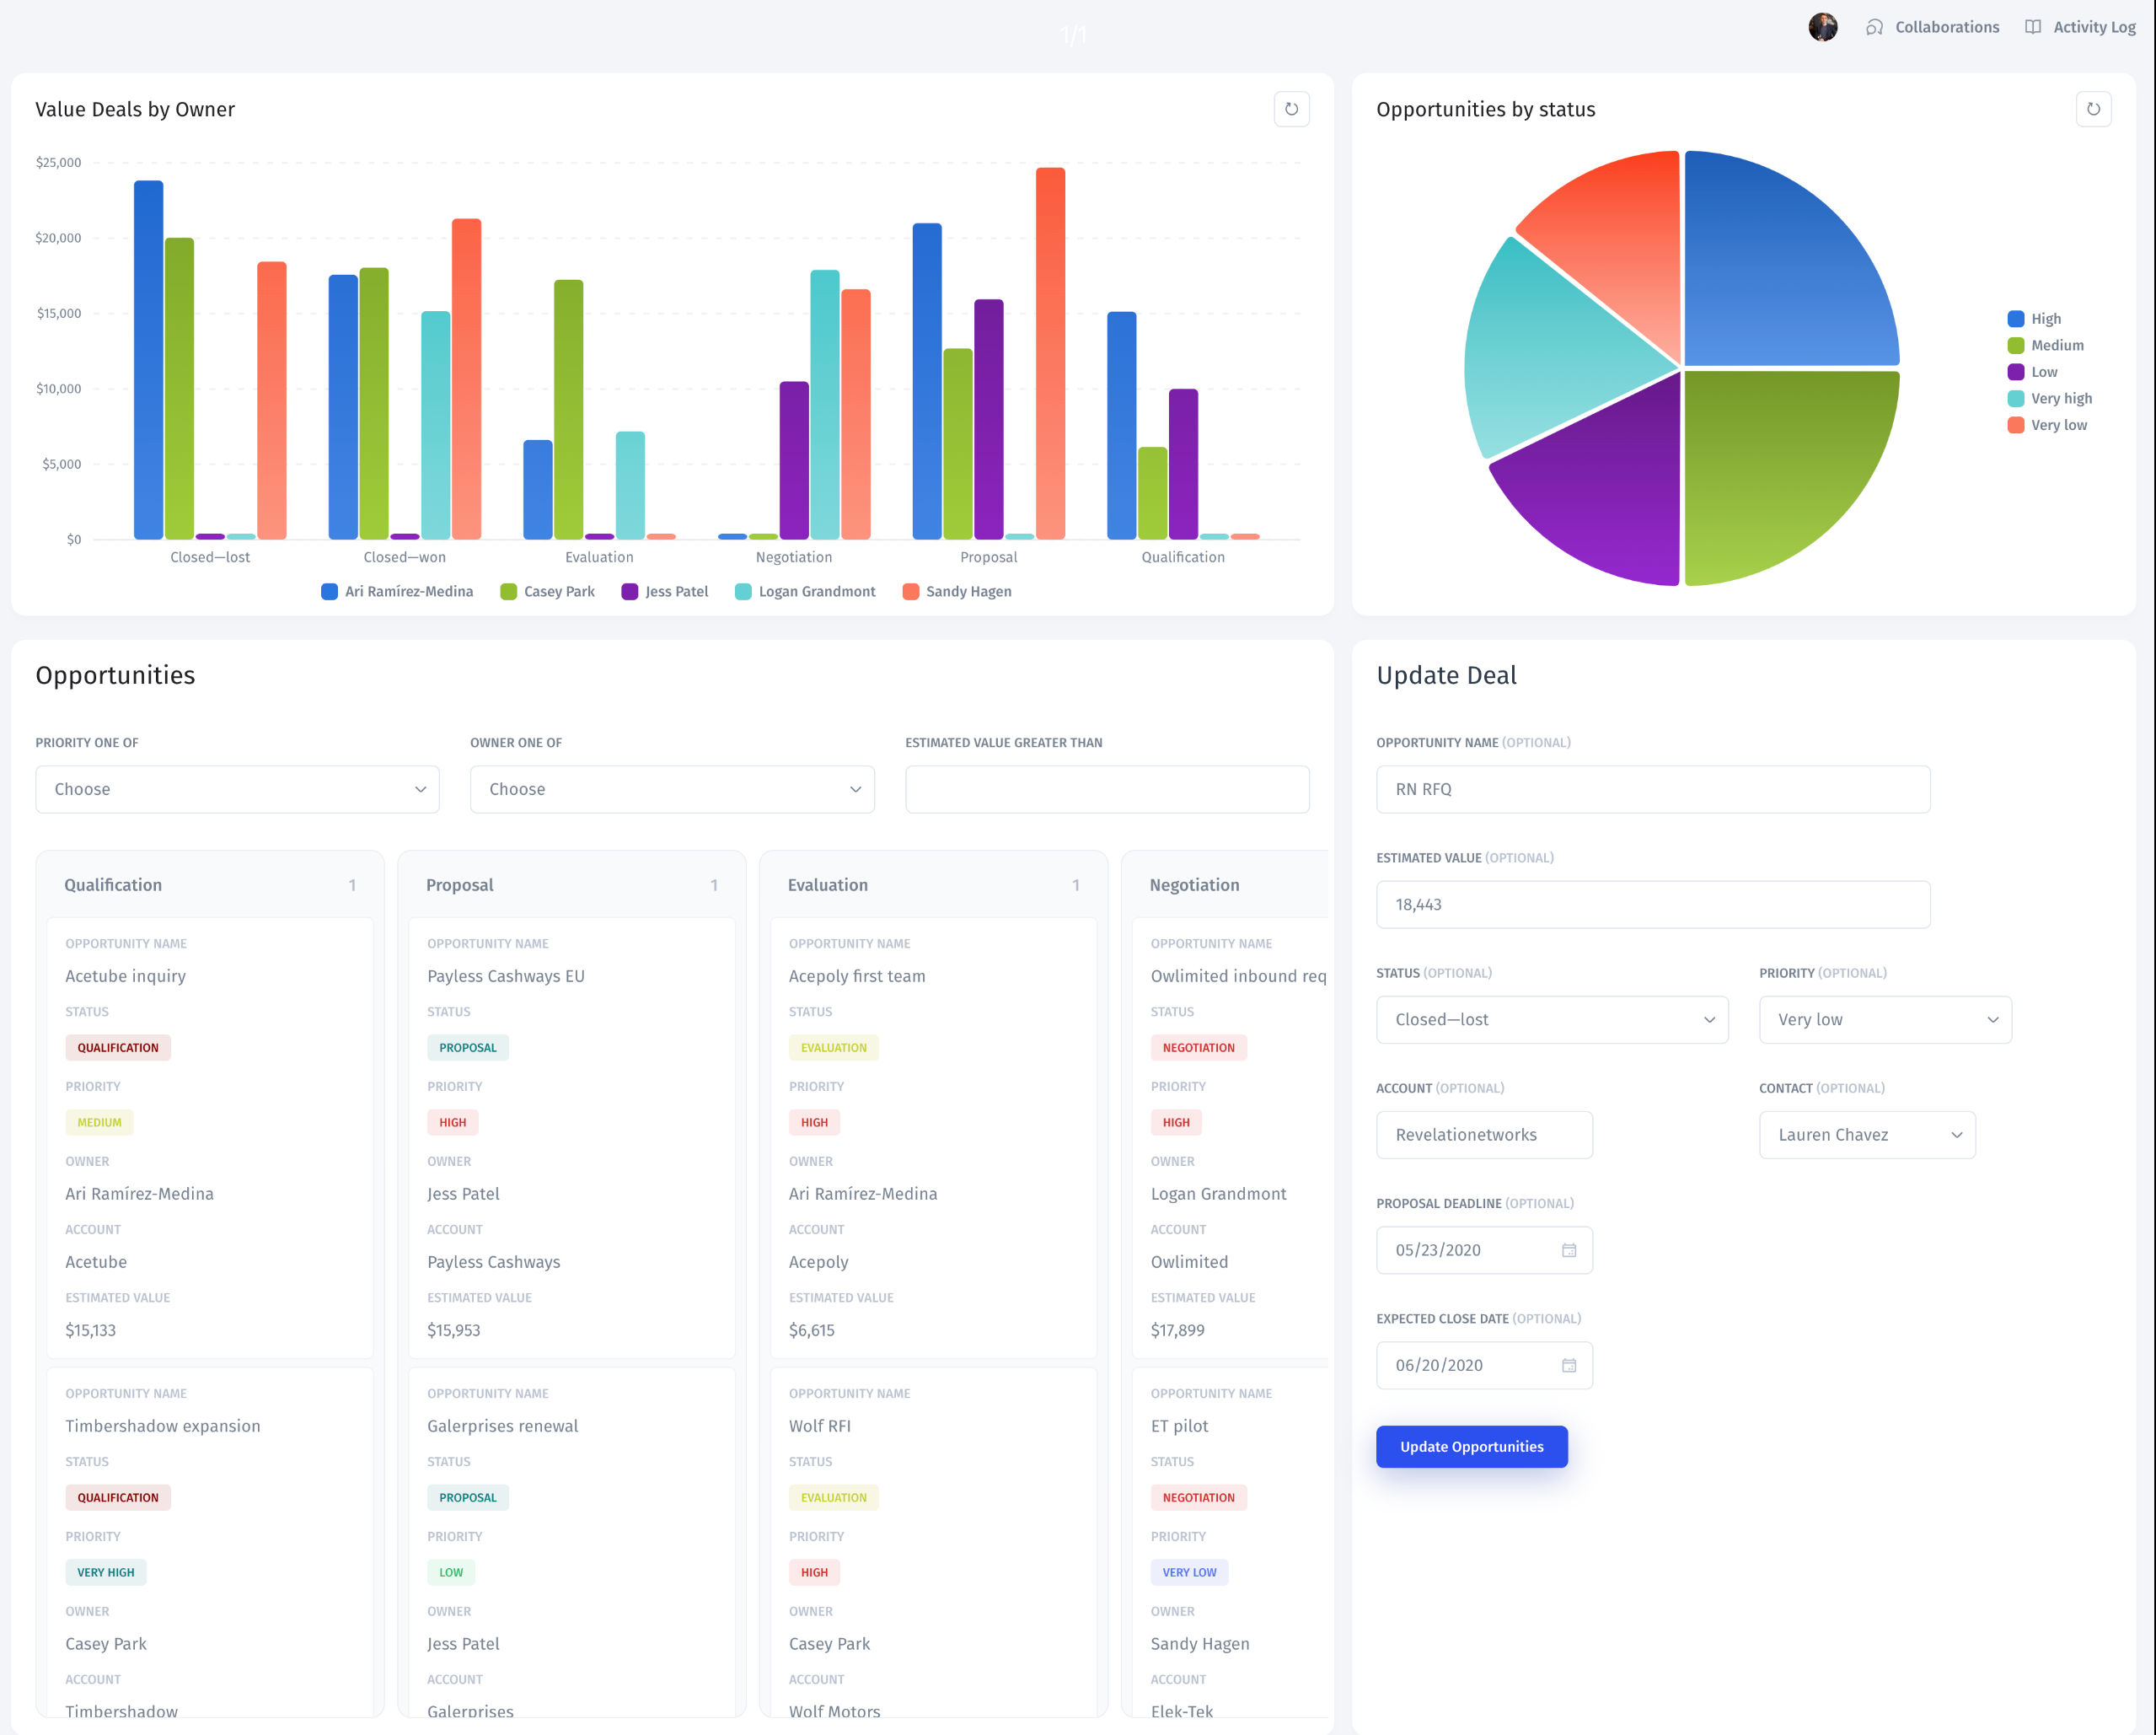
Let's build a Custom CRM using Jet Admin that allows users to track Opportunities by Value Deal Owner and by Deal Status, update Deals, and send Slack notifications when Deal data is changed.

3.1 Configure Data Types
Go to your Data (in the data section) that was successfully imported from Xano in previous steps and update Field Types to make your app look nice and polished. To do this, click on the name of the column then on Edit field; this will open a panel on the right where you can choose the correct data type from a dropdown menu.
3.2 Build Custom CRM UI
Create a new Page, drag and drop components to the canvas, and connect these components with your Data.

Drag-and-drop UI components to the Canvas, then fetch data from relevant collections in each UI component using the panel on the right.


Note that each type of UI component might require a different configuration. For reference, see the components section.
3.3 Enable filtering
Select the Filter component and click "Bind," then choose Kanban from the list – this will link the filter component and the kanban component so that any filter added will be applied to the kanban.

After this, add as many filters as you need - they all will have logical AND between them.
.png?alt=media&token=a81d3da5-b5c2-499e-8d04-45119825f2ad)
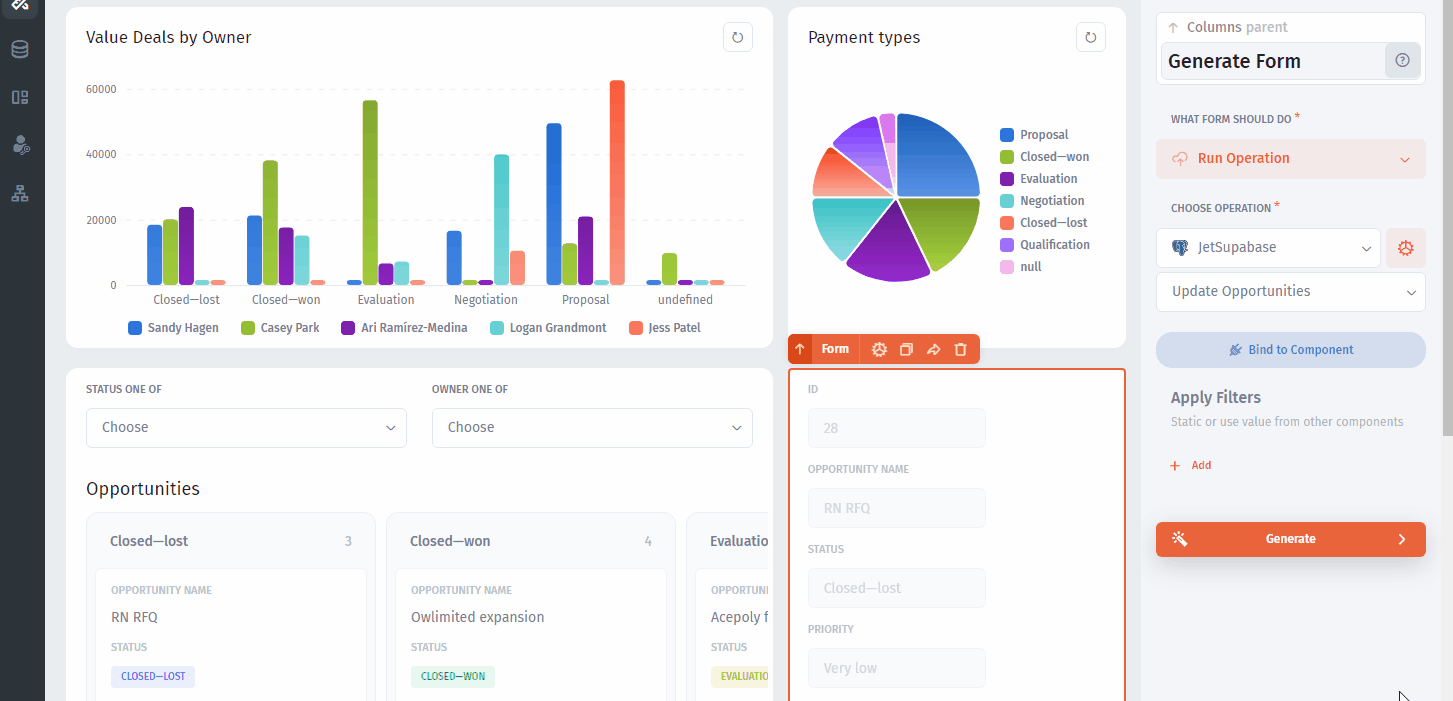
3.4 Add record updating
To be able to change various fields from our Opportunities collection (that is fetched through the Kanban UI component) we've already added a Form component.
Now we need to make this form update the record that we select in the Kanban on the left. To do this, we'll need to:
a) Generate the form and
b) Bind our form to the Kanban
Connect the form to our Opportunities collection and set what the Form will do (Update a record):

Next, bind the Form to the kanban component and, finally, generate it.
Now we're halfway through! The only thing left is to make our app send notifications when we edit a record from our Opportunities collection.
Step 4: Build an Automation Workflow on Jet Admin
To configure notifications in Slack, we'll need to create an Automation with data change in Opportunities collection as a trigger. You can find Automations in the left panel:
.png?alt=media&token=fb54490f-86f7-4c36-8993-38e3b09f7c38)
Then create a trigger and an action, as shown in this GIF:

Then within the f Formula modal we can add dynamic values to our message and customize it using powerful Excel-like formulas
.png?alt=media&token=8e5a09fb-4ab9-4be0-8236-26c1c35884b1)
Here's an example of a message that informs about the Status change in the Opportunities collection.

Share your app with teammates
Finally, go to Share -> Invite with Link (or use other invite options) to invite end-users and your team.

Other Guides:
– Sync Data from Google Sheets to a PostgreSQL database in real-time
– Sync Data from Airtable to a PostgreSQL database in real-time